7 Best Tips to Take Awesome Landscape Photos
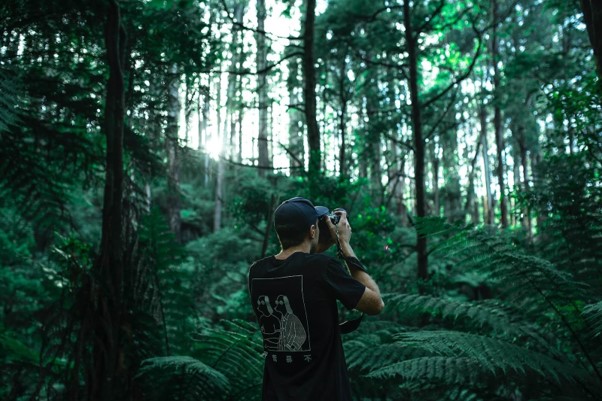
Do you enjoy photography as well as outdoor activities? Why not mix them together and start taking gorgeous landscape pictures? Step away from conventional studio space and enjoy being on the road and getting inspired by the best muse – the nature itself. Working outside with natural light can get tricky, so you will need a nice set of equipment, a great location, and the perfect software for post-processing. So, pack your gear and some snacks, get into the inspiring mood, read our helpful tips, and begin your photographic adventure.
1. Discover Great Spots
If you are traveling somewhere you have never been before, do proper online research. Read about the most incredible spots around this area, check out Google Maps street view to discover some great places, and tag these locations in your phone maps app. Additionally, arrive at the location an hour before you start shooting to scout the area and choose the best possible spot.
2. Gear up
Firstly, get a decent camera and learn its pros and cons. You must feel comfortable with it, know its settings like the back of your hand. Secondly, although, most landscape photographers choose wide lenses (16 mm or larger), give a try to telephoto lenses to achieve a narrow field of view – you will be surprised with the unique result. Finally, get a tripod. In fact, it is the most important investment for a landscape photographer: you need a stable and reliable tripod to prevent blurriness caused by the shaking of your hands.
3. Select Mid-range Aperture
A landscape photo ought to be sharp and very clear. To achieve this goal, use mid-range aperture – f/8 – and you will get a greater depth of field in your work. However, smaller aperture means less light in your shots, so consider increasing your ISO.
4. Exploit the Golden Hour
Every photographer knows about the golden hour. It is this perfect time right after the sunrise and right before the sunset when the sky looks amazing, and the natural light works like magic. If you can't shoot at the golden hour, at least try to avoid the time around noon when the sunlight creates unwanted shadows.
5. Familiarize Yourself with the Rule of Thirds
This rule is as old as hills. The rule of thirds will help you create balanced and compelling images. Divide the image into nine equal squares and place the most interesting and fascinating parts at the four angles of the central square. Some cameras display the grid of the lines on the screen to help you set up the right composition.
6. Consider Using Filters
Try to play with IRL filters: they will help you control the amount of sunlight reaching the lens. Unlike Instagram filters, they don't alter colors and tones, they simply assist you in preventing overexposure.
7. Choose the Right Software
Last but not least, post-processing. Depending on the level of your expertise and the thickness of your wallet, you can choose between two programs. The first one is Photoshop – a professional software that contains an extensive range of tools including complex expert editing options. The second program is PhotoWorks – a photo editing software made for both experts and amateurs that does not require a powerful PC. At the same time, it offers a huge variety of helpful editing tools that are easy to master for beginners, as well as some professional options that will help photographers improve their skills.
Landscape photography is an incredible career for every adventurer. It keeps you busy, fit, and allows you to enjoy nature and discover breathtaking spots that our awesome planet has to offer.
 (2 votes, average: 4.50 out of 5)
839GYLCCC1992

Leave a Reply