How to DIY a Basketball Court in Your Backyard

Basketball is the nation's favourite game enjoyed by people of all ages and sexes up and down the length and breadth of the country. The beauty of the game is that there are no barriers to entry and it is accessible to all with municipal courts all over the country.
However, at times we value our privacy, and if space and finances permit, we would like to have our own basketball court in our backyard so that we can enjoy a game with our closest friends and family.
Many people would not have a clue how to construct their own court, so read on if you would like to find out!
The Location
The first big decision that you have to make is where to build your court. Ideally, it should be on flat land otherwise you will be shovelling an awful lot of earth to make it level. If possible you should think about the location in relation to your house and road, and also consider any overhanging trees that could provide shade in the warm summer months.
You will also want to consider the size of your court as regulation NBA courts tend to be too big for private use, so you may want to settle on a half-court which can still provide plenty of entertainment.
Level the Ground
Once you have identified your location you will need to level the ground to ensure that you have an even surface for the concrete. You are going to need a depth of at least 120mm in order to allow for the concrete and tiles, so you will need to dig down if you want the court flush with the surrounding land.
The depth of 120mm doesn't sound a lot but if you are doing it by hand it will take an age, so it is recommended to hire a digger or use a landscaping firm.
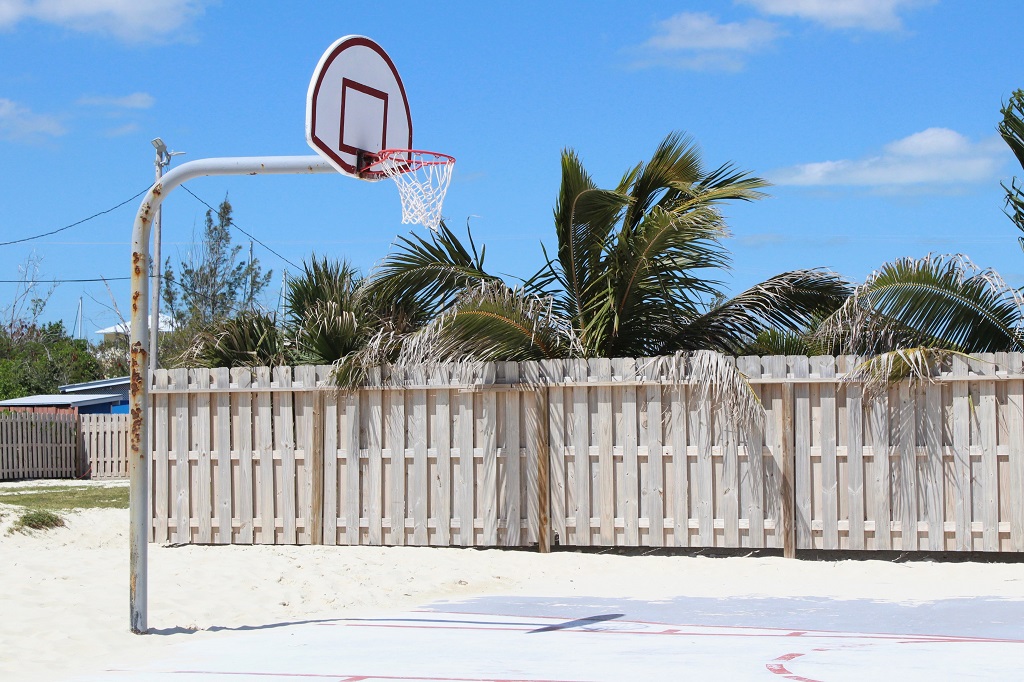
Choose Your Hoop
Before you lay your concrete, you are going to need to purchase a goal hoop and stand, because you will want to sink this into the concrete so that it is as sturdy as possible.
Make sure you do your research because choosing the right hoop is never easy given the possibilities and number of different designs on the market. You want to ensure that you have something heavy-duty that will survive the rigours of a competitive game of basketball.
Lay Your Concrete
This is the most fundamental part of the whole process as you want to ensure that your playing surface is absolutely flat. If you have no experience of groundworks it is advisable to outsource this work, as it will be tricky building the wire mesh that holds the concrete together.
You also need to remember to sink the bracket that will hold the hoop stand into the concrete so that it is rigid, and it is important to measure this precisely so that you can mark out the key and free throw lines accordingly.
Install Your Hoop
This is the most labour intensive part as the stand and hoop will weigh several hundred kilos, so you will need at least 3-4 people to assist with its erection.
Do not skimp on this part because the last thing you want is for your hoop to collapse the first time somebody tries out their slam dunk!
Lay the Surface Tiles
Once your concrete has gone off it is ready to lay your surface tiles. The reason you need these tiles is to provide an even bounce and also to deaden the noise so that you don't distract your neighbours with endless bouncing noises.
This job can be done yourself as it is as simple as laying out the tiles, joining them together, ensuring they are square and then screwing them down into the concrete. Sounds difficult, but it is surprisingly easy!
Add Line Markings
Now you get down to the fun stage where your court suddenly seems real, so you do not want to mess it up by making a mistake with the markings. Consult the NBA website to find the definitive size guidelines and then use a string to create the free throw circle from the hoop stand.
Make sure you use a guideline so that all lines are nice and straight and choose a colour that stands out such as white or yellow. Once done your court is finally ready!
As we have learned there are many steps to building yourself a basketball court in your backyard. You need to ensure the surface is flat and that you choose a good heavy-duty stand and hoop.
Leave the groundworks and concrete to a professional and then get down to laying the tiles and painting the lines and you have your court. What could be simpler!
839GYLCCC1992

Leave a Reply