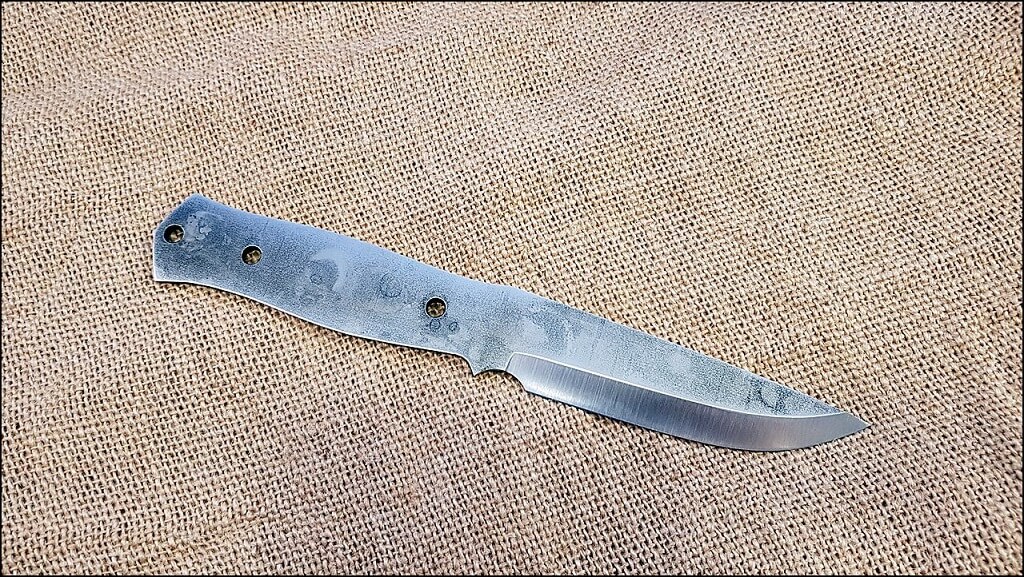
How to Make Your Own Survival Knife

Knives are incredibly useful and diverse tools; this is as true today as it was 100,000 years ago. Archaeological records show that, alongside hammer stones and spearheads, knives were one of the very first tools that human beings manufactured and utilized.
Whether you are preparing for a survival situation or just want the satisfaction of making your own tools, here is all the information you will need to make your own survival knife. For additional information and instructional videos, we recommend checking out this helpful web page from Self Reliance Outfitters.
Here's what you'll need:
- Knife blank kit
- Gorilla Glue
- Sanding implement (pad or belt)
- Two clamps
- A file
- Wood sealant oil
- Diamond rod
Step One: Clean the Blank
Most blanks ship with an oil coating to prevent them from rusting during transit. This oil will also prevent the glue from adhering to the blank and needs to be removed. Use Windex or any other gentle cleaning solution and a rag to wipe off the oil.
Step Two: Sand the Handle and Scales
Use your sanding implement to gently abrade both sides of the handle of the knife blank as well as the handle scales. This will allow the glue to adhere better to the blank and the scales. You only need to sand the knife blank below the ricasso (the unsharpened portion of the knife between the blade and the handle) unless you wish to give the knife a satin finish. In that case you can sand as far up the blank as you like.
Note that for added safety, you can wrap some blue painters' tape or masking tape around the blade while you're sanding the handle and scales.
Step Three: Check for Proper Fit Before You Apply Glue
To paraphrase an old adage, “measure twice, glue once.” Check the fit of all your pieces prior to gluing anything in place.
Insert the two pins — tapered end first — into one of the handle scales, pushing the pins all the way through so that they jut out the other side. Check the fit of the knife blank and the second handle scale to make sure all the holes and edges line up to your satisfaction.
If the fit is satisfactory, remove the pins from the scales and blank. The larger ¼ inch pin may be a little snug and difficult to remove by hand. If that is the case, pliers can be employed, but all components need to be separated prior to gluing.
Step Four: Glue and Clamp
Employ a thin layer (about a ¼ inch dot that is then spread out) of Gorilla Glue on the inside of each handle scale as well as both sides of the knife blank. The pins do not need much glue; the residue from your fingers should be enough.
After each of the above surfaces has been lightly coated with glue, insert the pins and assemble the handle scales and blank. To make sure the glue sets, place a small clamp at each pin and leave the knife clamped for three to four hours.
Step Five: Remove Excess Glue and File Pins
After three to four hours have elapsed, remove the clamps and inspect your knife. Remove any clumps of excess glue that may have bled over the edges of the handle using another sharp knife or razor blade. Do not worry if you cannot completely remove it; the rest will come off during sanding.
Step Six: Sand the Handle
Clamp the knife in place and file down the rounded edges of the pins until they are flush with the handle on both sides. Use your sanding implement to smooth down the handle.
Feel free to create contours and round-out the handle however you desire – this is part of the personalization process of making your own survival knife. The goal is for this knife to fit perfectly in your hand.
Step Seven: Apply Oil to Handle
Once your handle is adequately sanded, apply wood sealant oil to protect it. Walnut oil works well, but feel free to use whatever you prefer.
Apply two to four coats of the oil with a rag, being sure to coat the handle evenly. Keeping the knife clamped into a vice (with the blade shielded with cardboard) will make this step easier. Essentially, when the handle stops absorbing newly applied oil it is thoroughly sealed.
Step Eight: Final Honing of Blade
The blade will be sharp to begin with and so should only require a final honing. If you desire, use a diamond rod to knock the wire edge off the blade and give the edge a final honing. With that, your homemade survival knife is complete.
839GYLCCC1992


Leave a Reply